
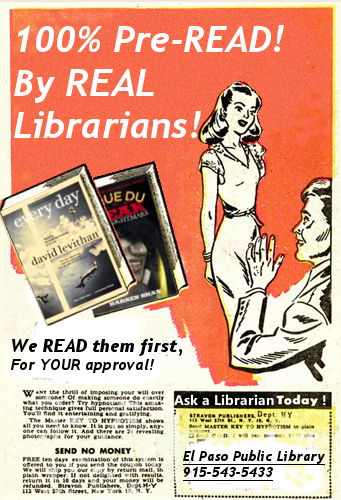
Today I’m going to walk through how to modify a retro ad. This process works on any kind of digital image, but I chose retro or vintage ads because the art can be attention-getting and it’s a little easier to edit because of the layout.
First: Are you asking, what is GIMP? See my earlier post.
Second: Do you have GIMP yet? If not, get GIMP! You can install GIMP on any kind of computer and where you don’t have admin privileges, you can use the Portable Apps version of GIMP.
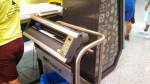
- Now we can get started. Find a great retro image. Copy it and then open up GIMP.
- Go to File >> Create >> From Clipboard

You can also Open the file from your hard-drive.
- Now your picture is there and ready to be edited! You will see your picture in the middle and several different boxes surrounding your image.
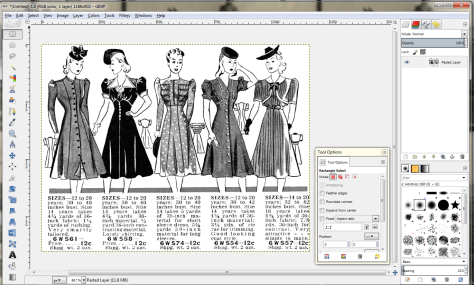
I usually double the layers, just in case I make a mistake on the original and want to fix it easily. To do this, look at the layer box on the right hand side. Click the square icon next to the anchor. You’ve duplicated the layer!

 What’s a Layer??? Think of layers like transparent pieces of plastic laid down on top of one another. You can have a lot of layers to control your digital manipulation. The eyes next to each layer controls whether the layer is visible or not.
Let’s make a new layer. Click on the white paper icon on the left hand side of the layer box. Another box will pop up. You can name your layer to keep track of it if you wish. In addition, you can also choose the “fill type.” I like to leave it “Transparency.”
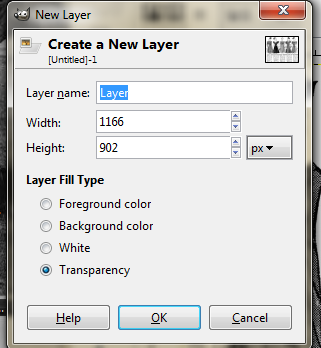
Now you can see your new layer:
When the layer is highlighted, then that’s your active layer. We’re going to get rid of the text by “erasing” it. Click on your “Pasted Layer copy” to make it the active layer. Also, turn off the visibility of the first Pasted Layer by clicking on the eye. Now we are going to choose the “Erase” tool. 
Use the Erase tool to erase the text in the add. I’m going to erase all of it and then add my own later.
- You’ll notice that the erased area shows checkerboard-patterns underneath. This pattern means “transparent.”

Next, choose the paintbrush above the eraser or the “Bucket” tool that looks just like a bucket. Fill in the transparent area with the color of your choice. I’m filling it in with white.
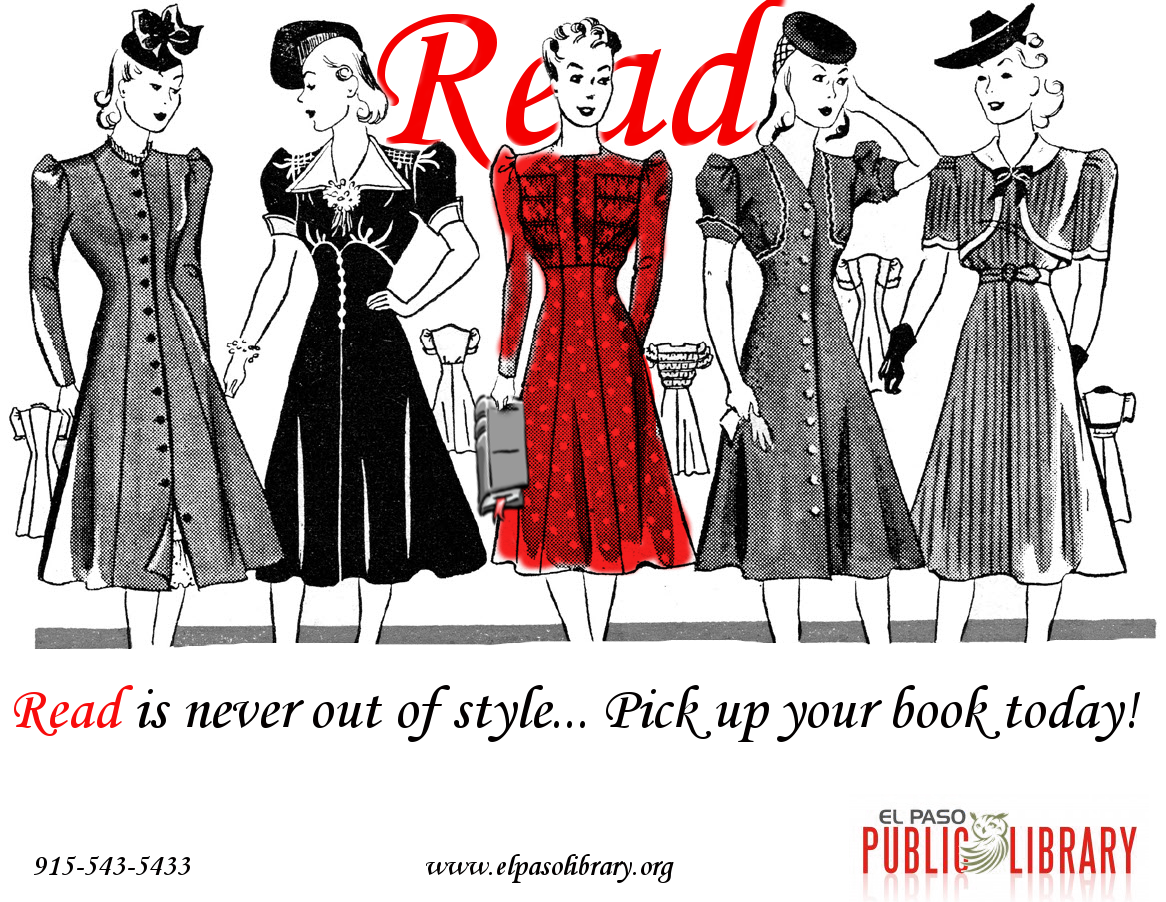
- Now I want to color in one of the figures above. I’m going to choose the new transparent Layer. Then I’m going to choose my paintbrush. Change the color to red. Now you can paint red onto the layer. But it’s kind of “un-subtle.”

- In order to make the red look a little more like it’s part of the original image, we’re going to modify the opacity of the layer I just added the red to. Click on the layer and look to the top of the box. There is an Opacity bar. It’s currently set at 100%. Lower that until it looks the way you’d like.

Now let’s add text. Choose the Text tool. In GIMP, it looks like a large letter A in the toolbox.
Click where you want to add the text and start typing. You can change the color, size, font and more from the dialog.

There are even more things that we can go over, but these are basic, fun ways to get started. More GIMP in the future!


 now. The
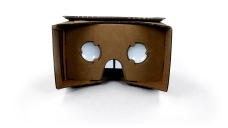 Google Cardboard


